Thursday 10 May 2012
Feedback
From my peers:
From a parent of a 7 year old: Good idea that you can separate the boxes, so if she only has a half day and only needs break she can only take two compartments. Not deep so it would be easy to clean, would fit easily into her schoolbag.
From a 7 year old: Thought it was cool, but from the render with the lids open she wasn't sure how it worked.


Jordan Sandy Thats class, are you doing both or just the lunchbox? please say just this! :O lol
Looks kind of like Lily Pads, good job too !

From a parent of a 7 year old: Good idea that you can separate the boxes, so if she only has a half day and only needs break she can only take two compartments. Not deep so it would be easy to clean, would fit easily into her schoolbag.
From a 7 year old: Thought it was cool, but from the render with the lids open she wasn't sure how it worked.
Wednesday 9 May 2012


3DsMax
To make the initial shape I used the standard primitive box, i converted it to an editable poly then I used the connect tool to create two new edges on the sides.

I then moved the new edges to the bottom and made the top smaller, to create a triangle type shape.

I deleted the bottom polygon to leave it like an open lunch box

And 3Ds Max just crashed on me, so now I have to start all over again because I hadn't saved it. Glad I had been writing what I had done on here.
And im going again .. Add a shell of 1mm. Add mesh smooth and change the iterations to 4.

Next I made a copy of the shape and scaled it down. This also made the depth smaller so i needed to extruede the bottom polygon .
I changed the shape and size of the side triangle to fit the shape of the centre one. Its actually starting to look good now.

Had to change all the vertices on the small triangles so they were in line with the larger one. And then I added a smaller triangle at the top (bottom of this screengrab).

Some renders of the model without lids
 |
| Top view |
 |
| front View |
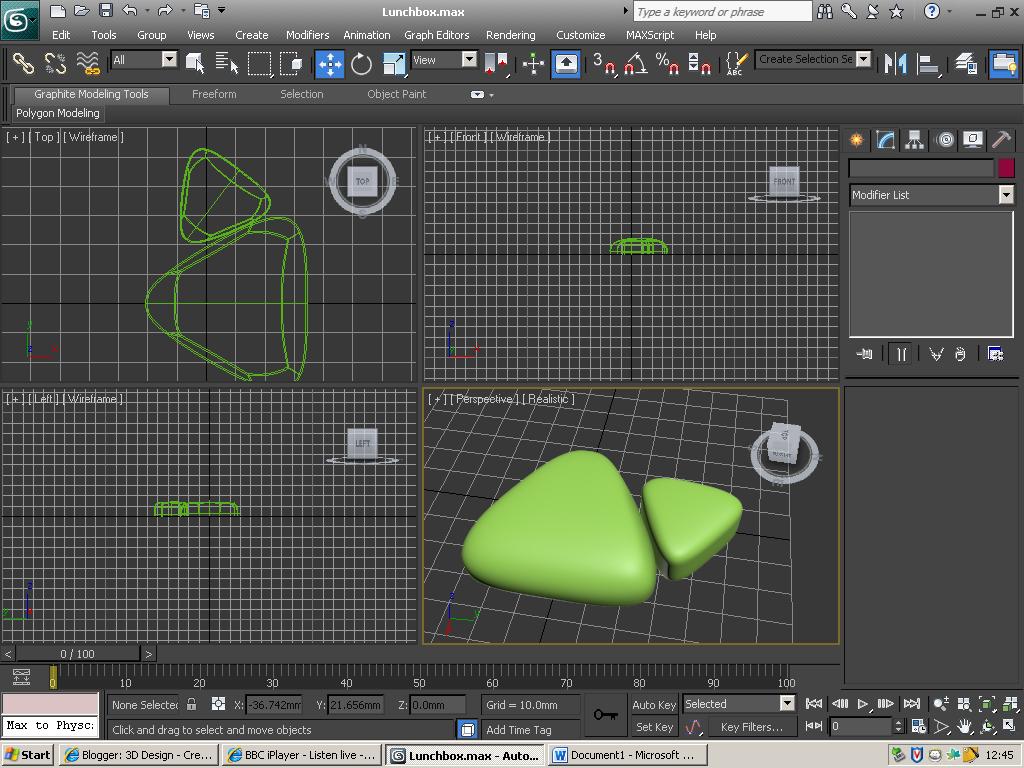
 |
| Perspective view |
Making the lids
 |
| Lids closed |
 |
| Side lids open |

Render of the final model

Saturday 5 May 2012


Subscribe to:
Posts (Atom)